
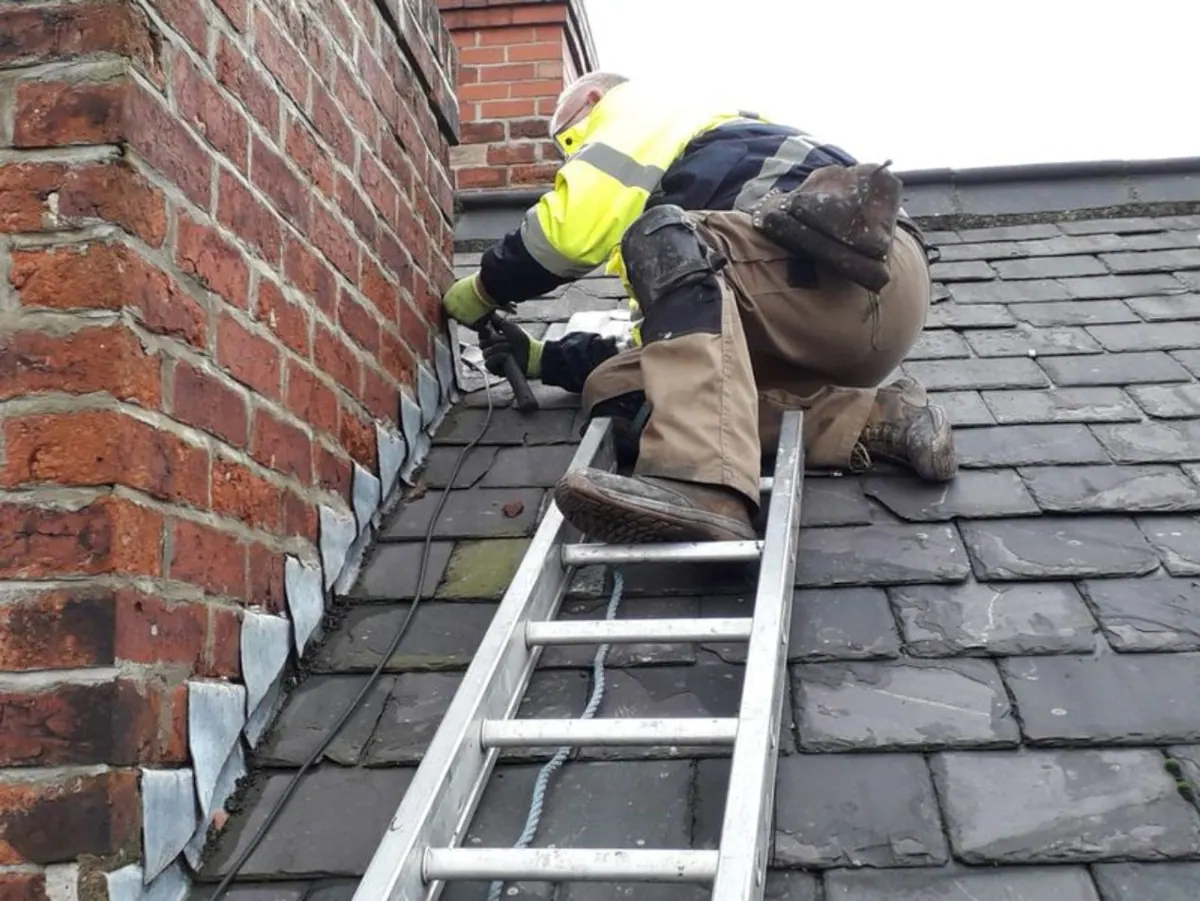
As winter fades away and the first signs of spring begin to emerge, it’s the perfect time to give your roof a thorough check. The cold, damp weather of the past few months can often lead to a build-up of debris, moss and even damage to roof tiles. They can all lead to bigger problems if left unchecked.
In Leeds, the unpredictable weather and the challenges of the colder months mean that your roof could be silently enduring stresses that need attention. A spring roof inspection is essential if you want your home to stay weatherproof and safe as the seasons change.
Here’s a comprehensive guide on what needs to be checked on your Leeds roof this March to get it ready for the warm but wet months ahead.
1. Gutter and downpipe inspection
After months of rain, wind and occasional snow, gutters can quickly become clogged with leaves, twigs, moss and other debris. Blocked gutters prevent water from draining properly, causing it to overflow and potentially damage the structure of your home. This is particularly important in Leeds, where the rain in the spring can be heavy and persistent.
What to check:
- Clear any debris: Clean out your gutters and downpipes to ensure that water can flow freely. It’s not recommended to try this yourself unless you’re trained to work at heights. If you’re unsure, it’s always best to call a professional.
- Check for blockages: Ensure that the downpipes aren’t clogged. Sometimes debris can get stuck at the base, causing water to back up.
- Look for leaks: Examine the joints and seals on the gutters and downpipes. Any leaks or cracks can cause water to escape and damage your roof or walls.
- Check the pitch of the gutters: Ensure that the gutters are correctly pitched towards the downpipes to allow water to flow away from your home.
2. Moss, algae and lichen growth
Leeds’ wet and often damp weather makes the perfect environment for moss and algae growth on your roof. Moss thrives in shaded, moist areas, typically on the north-facing slopes of roofs or under trees. While a small amount of moss or algae may seem harmless, it can trap moisture against roof tiles, leading to decay, cracks and even leaks.
What to check:
- Look for moss on your roof: Inspect your roof for moss, algae or lichen, particularly on shaded or north-facing areas where they are most likely to grow.
- Watch for growth around chimneys and valleys: These areas are often more prone to moss build-up due to the way rainwater channels through your roof.
- Look for black streaks: Algae often leaves black streaks on the surface of tiles. While it doesn’t cause structural damage, it can affect the aesthetic appeal of your roof.
What to do:
- Manual removal: The best way to remove moss is by scraping or brushing it off gently, preferably by a professional who knows how to avoid damaging the tiles.
- Consider biocide treatments: If moss is a recurring problem, a professional treatment using appropriate biocides can help prevent regrowth.
3. Roof tiles and slates
The harsh winter weather can cause roof tiles and slates to crack, shift or become loose. Leeds is known for its cold and rainy winters, which can cause tiles to expand and contract, potentially leading to damage. It’s important to check the condition of your roof tiles to prevent leaks when the spring rain arrives.
What to check:
- Cracked or missing tiles: Inspect the roof for any tiles that have become cracked or dislodged. Even a small crack can allow water to seep through and cause damage to the underlying structure of your roof.
- Loose or displaced tiles: High winds and heavy rain can cause tiles to shift or come loose. Check if any tiles are hanging off or appear to be out of place.
- Check ridge and hip tiles: These tiles are more vulnerable to high winds. If the mortar has cracked or deteriorated, it can cause tiles to become loose and let water in.
What to do:
- Replace damaged tiles: Any cracked or missing tiles should be replaced as soon as possible to prevent water ingress.
- Re-bed ridge and hip tiles: If you notice any loose ridge or hip tiles, it’s best to re-bed them to ensure they are securely fixed.
4. Flashing and leadwork
Lead flashing is used to seal areas of the roof that intersect with chimneys, dormers and valleys. Over time, lead can degrade, crack or become displaced due to weathering, expansion and contraction. In Leeds, where heavy rain is common, failing flashings can quickly lead to leaks and further damage.
What to check:
- Inspect lead flashings: Look for signs of corrosion, cracks or missing sections around chimneys, dormers and valleys.
- Check mortar around the flashings: The mortar that secures the lead flashings can wear down or crack, leading to gaps where water can seep in.
- Check for staining: Green or blue streaks on the lead are a sign of corrosion, known as verdigris, which indicates that the lead needs attention.
What to do:
- Repair or replace damaged lead: If you notice any issues with the lead flashing, it’s important to replace it. Leadwork should be done by a professional, as it requires a certain level of expertise.
- Repoint where necessary: If the mortar around your flashing is deteriorating, repointing may be required to ensure a watertight seal.
5. Loft and insulation check
A well-insulated loft can help keep your home warmer in the winter and cooler in the summer. However, poor ventilation in the loft can lead to condensation, which may damage the roof structure and cause mould to form. Checking your loft in March is a good way to spot any issues before the warmer, more humid months set in.
What to check:
- Look for condensation or damp spots: Check the rafters, insulation and the roof itself for any signs of dampness or condensation. This can often occur during the colder months when warm air from inside the house meets the cold roof.
- Inspect the insulation: Make sure the insulation is evenly spread across the loft and hasn’t been displaced. Proper insulation helps maintain a comfortable temperature in your home.
- Check the ventilation: Ensure that soffit vents are clear of any insulation or debris. Good ventilation is crucial to preventing condensation and maintaining the longevity of your roof.
6. Check chimneys and vents
Chimneys and vents are often the first areas to show signs of wear and tear after the winter months. The freezing temperatures, combined with wind-driven rain, can cause the mortar around chimneys to crack. That could allow water to penetrate your roof. It’s also important to check for any blockages in your vents.
What to check:
- Inspect chimney stacks: Look for any loose or cracked mortar around the chimney stack and the flashing that seals the gap between the chimney and roof.
- Check for debris: Make sure there’s no debris blocking the chimney or vents, which could cause issues with airflow.
- Check for leaks around chimneys: If you notice any water stains around your chimney or in your loft, it could be a sign of a leak.
7. Trim overhanging branches
Winter storms and strong winds can cause branches to break and fall onto your roof. If you have trees near your home, it’s essential to inspect your roof for any damage caused by fallen branches or debris. Additionally, overhanging branches can contribute to moss growth by providing shade and moisture.
What to do:
- Trim branches: Cut back any branches that are close to the roof to prevent damage from falling branches during storms.
- Remove debris: Clear any leaves or twigs that have accumulated on your roof.
Timely roof repairs this spring
As winter fades and spring approaches, now is the perfect time to ensure your roof is ready for the season ahead. A comprehensive roof inspection can identify potential issues early, helping you avoid costly repairs down the line.
If you’ve noticed any signs of damage or wear, don’t wait for the problem to worsen. Contact the expert team at DPR Roofing in Leeds for a full roof inspection, repair or replacement. Email info@leedsroofs.com or call 0113 335 0043.